Wiring harness failures can be a major source of vehicle malfunctions, leading to performance issues that are both inconvenient and costly. Whether it’s a non-functioning speedometer or a persistent engine light, diagnosing wiring harness problems can be challenging. Below, we’ll explore common engine wiring harness issues, their causes, and the steps you can take to effectively diagnose and resolve them.
1. Broken Wiring Harness
One of the most frequent issues vehicle owners encounter with their engine wiring harnesses is broken wires. This can lead to several noticeable problems during driving.
- Symptoms: When the wiring harness is broken, you may experience fluctuating or malfunctioning speedometers and odometers, often showing zero speed or limited mileage. The issue might resolve temporarily but will recur over time.
- Causes: Broken wiring harnesses can result from three primary factors:
- Short branch design: If the harness branches are too short, they can overstretch or break.
- Substandard manufacturing: Poor quality control in production can result in fragile or defect-prone wiring.
- Twisting during assembly: Incorrect installation techniques, such as twisting the harness, can damage the wires and shorten their lifespan.

2. Harness Wear
In addition to broken wires, wear and tear on the harness is another common failure mode, especially in vehicles that operate in demanding environments.
- Symptoms: Harness wear typically becomes evident when the engine wiring harness interferes with other components, such as the crankshaft position sensor or clutch pump mounts. You may notice visible signs of wear, including frayed or exposed wiring.
- Causes: The main reason for harness wear is the harness coming into contact with nearby engine parts. This can occur for several reasons:
- Excessive slack: If the harness branches are too long, they can interfere with peripheral parts.
- Poor assembly process: When the assembly process does not meet design standards, it can cause the harness to rub against other components.
- Tight spaces: Insufficient space between the harness and surrounding parts, coupled with a lack of secure mounting points, increases the likelihood of wear.
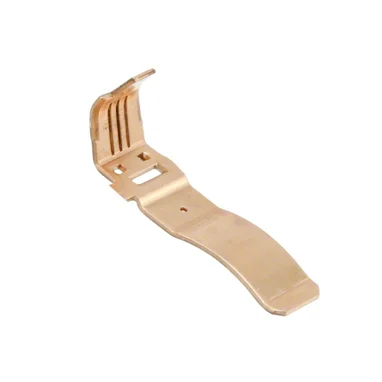
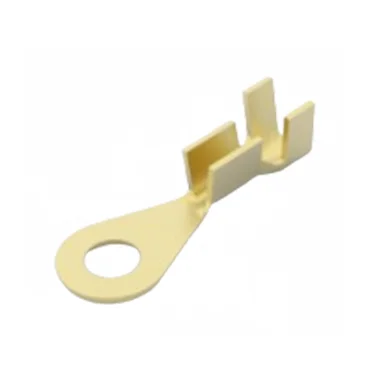
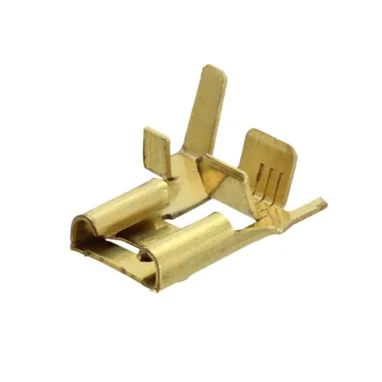
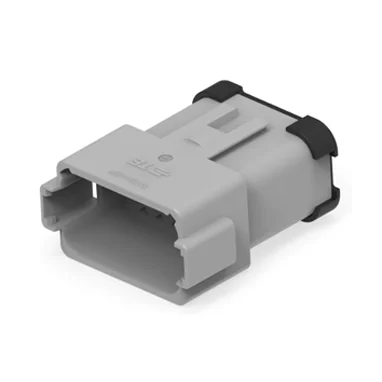
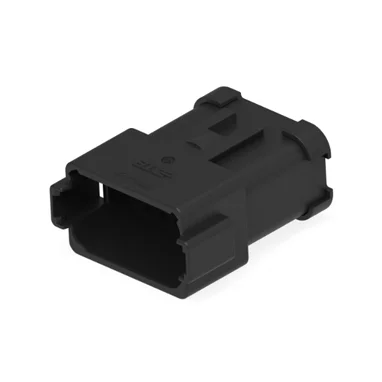
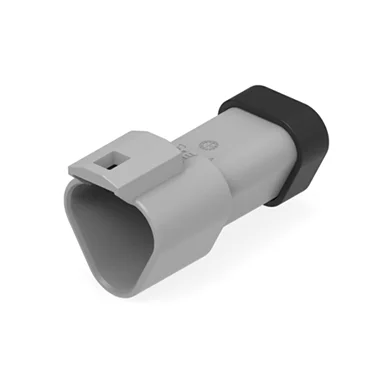
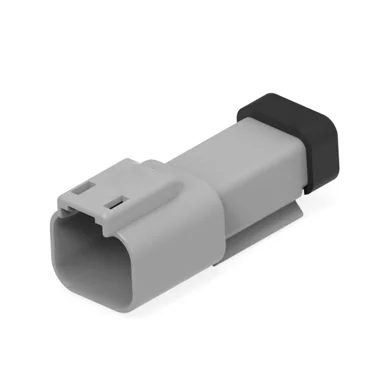
3. Damaged Assembly Plug
Another frequent wiring harness problem comes from the assembly plug, a critical point of connection that, when damaged, can trigger major engine issues.
- Symptoms: A common sign of a damaged wiring harness plug is the persistent illumination of the engine fault light, indicating a malfunction.
- Causes: Damage to the plug can be attributed to two main factors:
- Product quality: Poor-quality plugs may fail prematurely under normal operating conditions.
- Assembly errors: Improper handling during assembly, such as applying too much force, can cause physical damage to the plug.

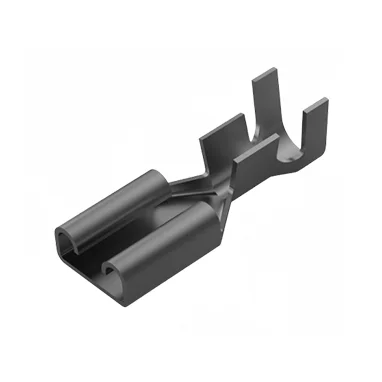
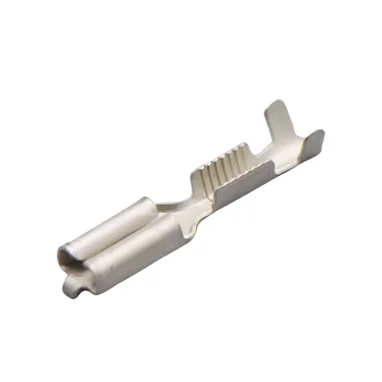
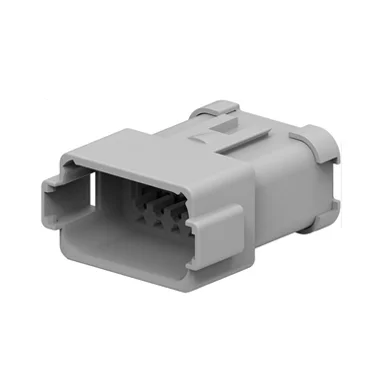
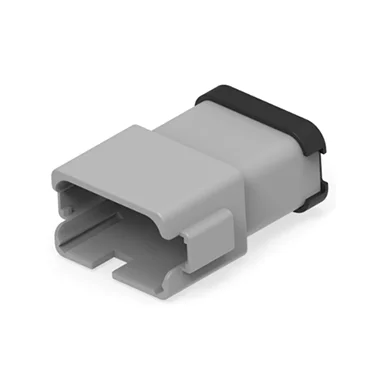
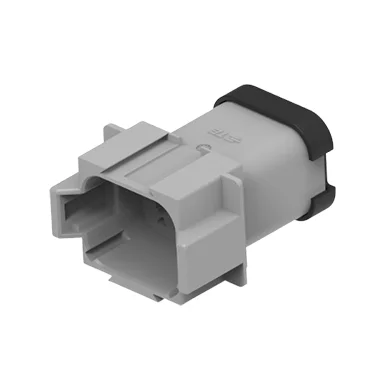
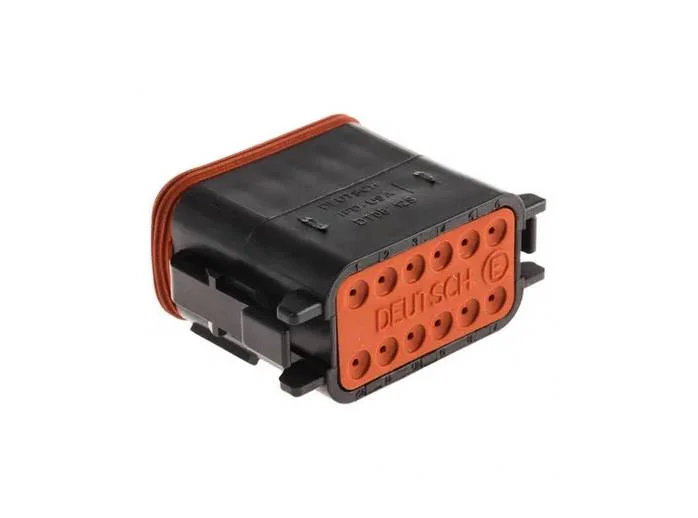
4. Poor Contact in Plug Assembly
Beyond physical damage, poor contact within the wiring harness plug assembly is another failure mode that can lead to erratic engine performance.
- Symptoms: If the engine fails to start or starts intermittently after reconnecting a sensor plug (such as the rail pressure regulator valve sensor), the wiring harness plug may be at fault.
- Causes: Poor contact is usually due to one or more of the following:
- Sheath quality issues: Inferior manufacturing can lead to poor contact points.
- Oxidation: The plating on the terminal may be inadequate, causing it to oxidize quickly.
- Improper handling: Human error during assembly can result in deformed terminals, leading to poor electrical conductivity.
Diagnosing Wiring Harness Issues
Once you have a general understanding of the common failure modes, the next step is diagnosing the problem with precision.
- Check the Fuse or Relay: Start by consulting the fuse box diagram to identify the fuse or relay linked to the malfunctioning component. Use a test light to verify the fuse’s status and replace any blown fuses with the correct amp rating.
- Visual Inspection: Expose the wiring by removing any protective plastic tubes. Look for signs of wear, broken wires, or spots where the wiring has come into contact with sharp edges or moving parts.
- Voltage Testing: Using a multimeter, check the voltage at the affected component. If the voltage is absent or inconsistent, the problem may stem from a broken wire, a poor ground, or a damaged switch.
- Continuity Testing: Trace the wiring back from the non-functioning component and test for continuity. Set your multimeter to the continuity setting, and check each wire for breaks or faults. If the reading shows infinite resistance (OL), the circuit is open and needs repair.
Conclusion
By understanding the root causes of wiring harness failures and following a systematic diagnostic process, you can prevent costly repairs and avoid unnecessary downtime. These common issues, such as broken wires, worn harnesses, and poor contact at plugs, can often be resolved with proper maintenance and timely replacement.
If you’re facing persistent wiring harness issues, Jingu Auto Parts offers durable and high-quality solutions to keep your vehicle running smoothly. Contact us today for customized wiring harness options designed to meet your needs!